Merchant Account Setup
Set up your merchant account and configure API access in WebWallet.
Set up your account to use merchant backend features in ByteConnect, including access to API credentials.
Step One: ByteVault
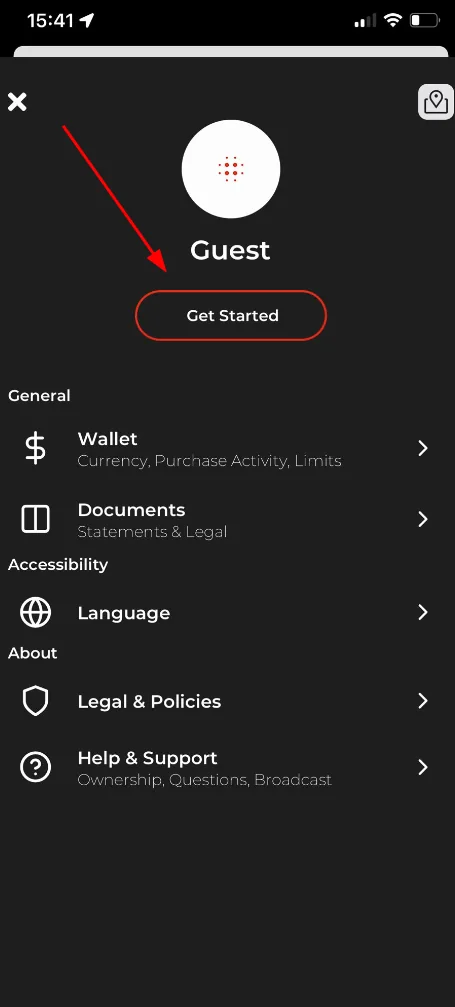
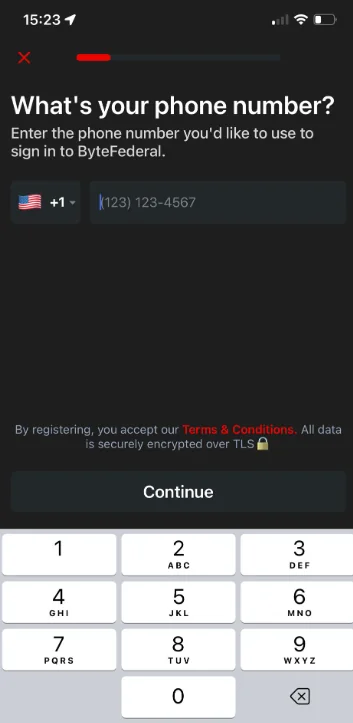
To create a merchant account, download ByteVault and complete the in-app registration flow. ByteVault replaces traditional password-based logins with a faster, secure mobile authentication flow.
Step Two: Merchant Registration
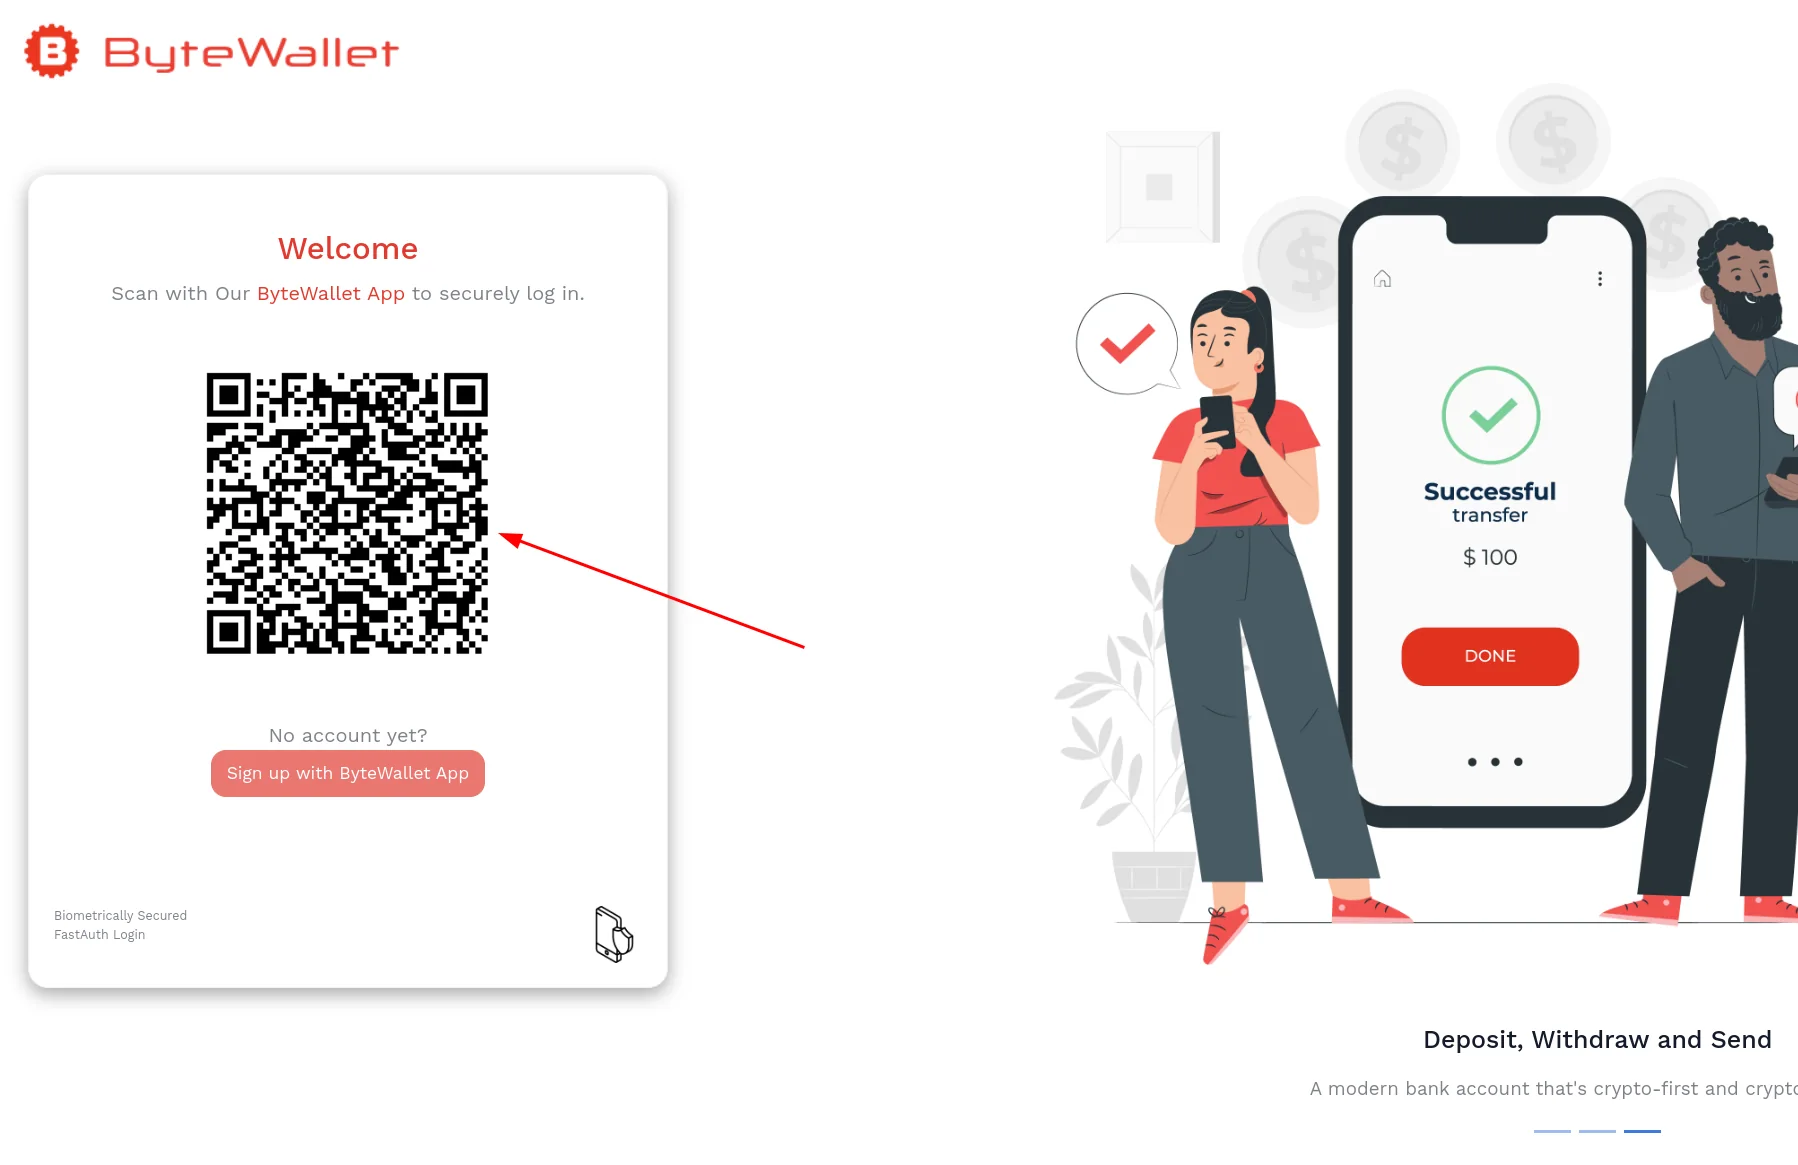
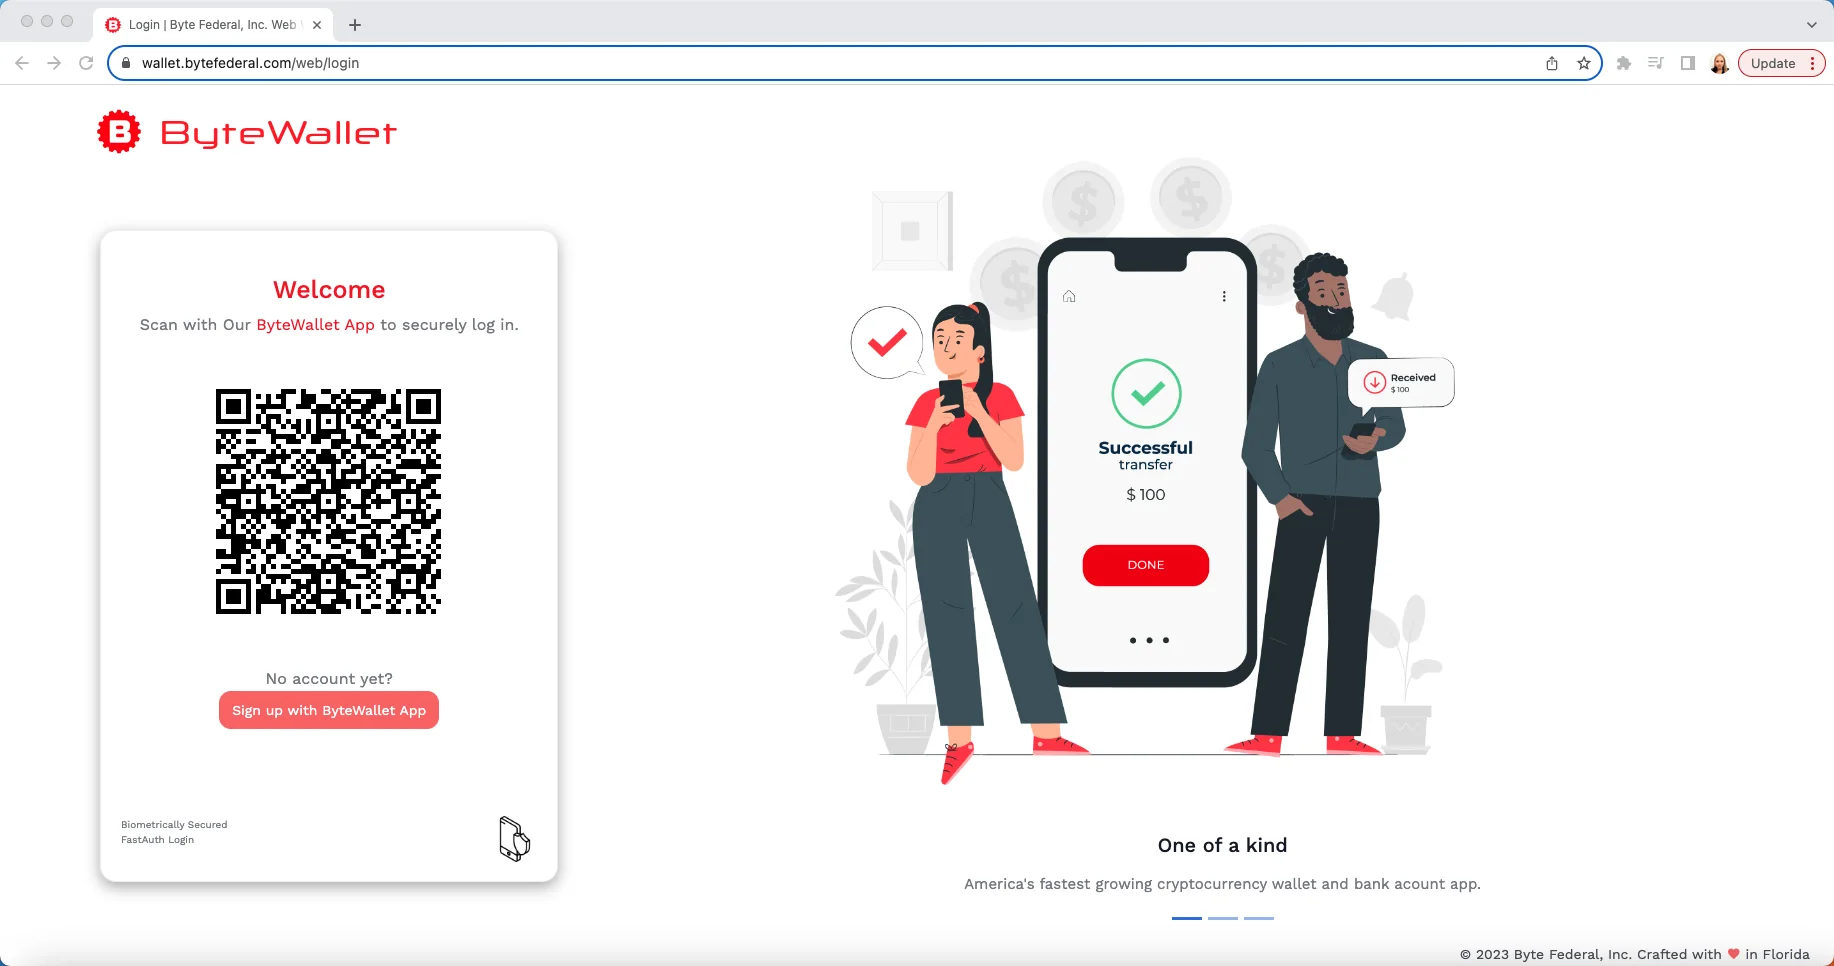
To finish onboarding and activate your merchant account, sign in at wallet.bytefederal.com. WebWallet is the companion merchant backend with analytics and store configuration.
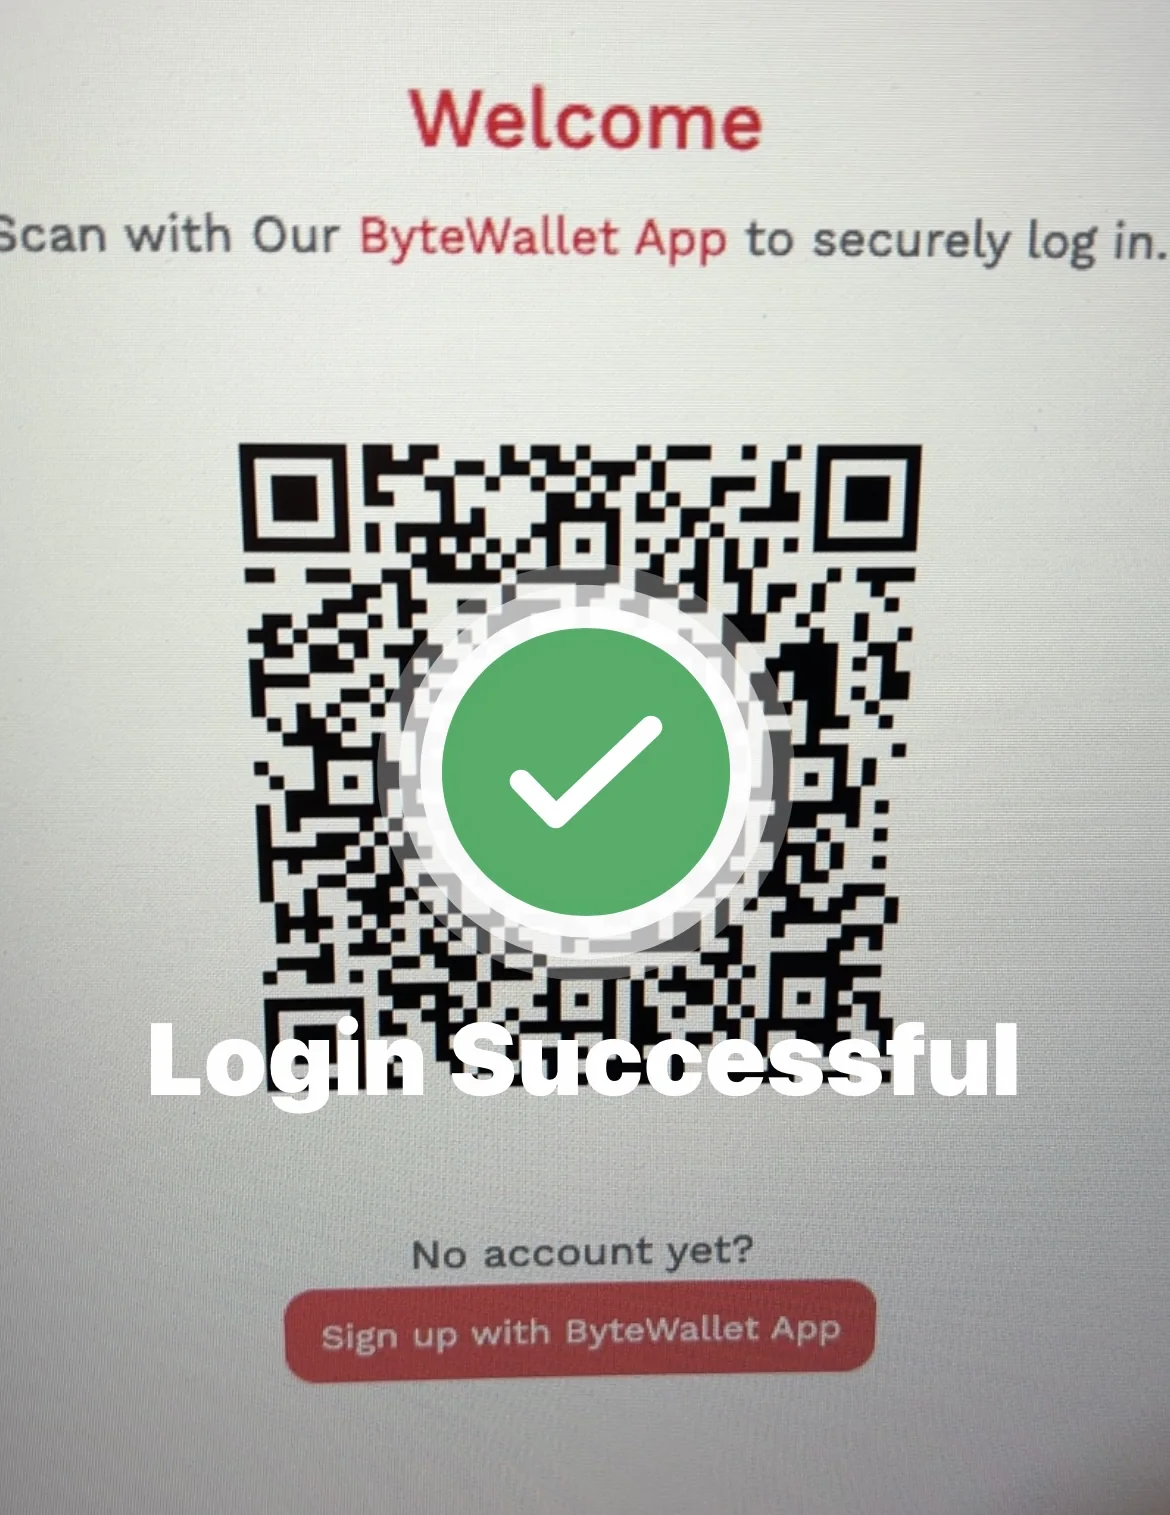
Use the QR code login screen and authenticate from your ByteVault app for secure fast login.
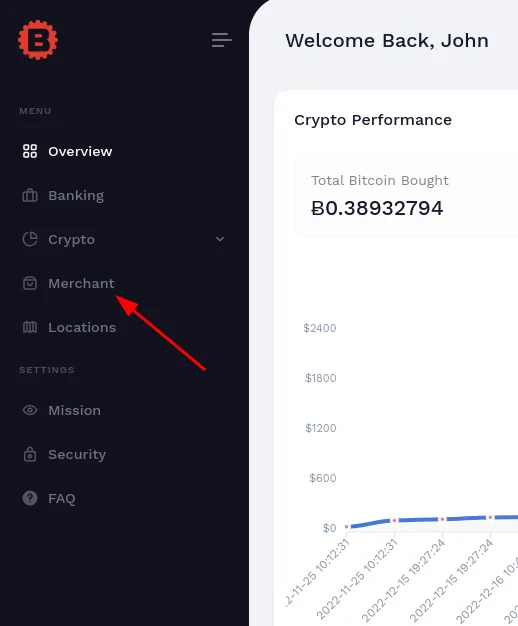
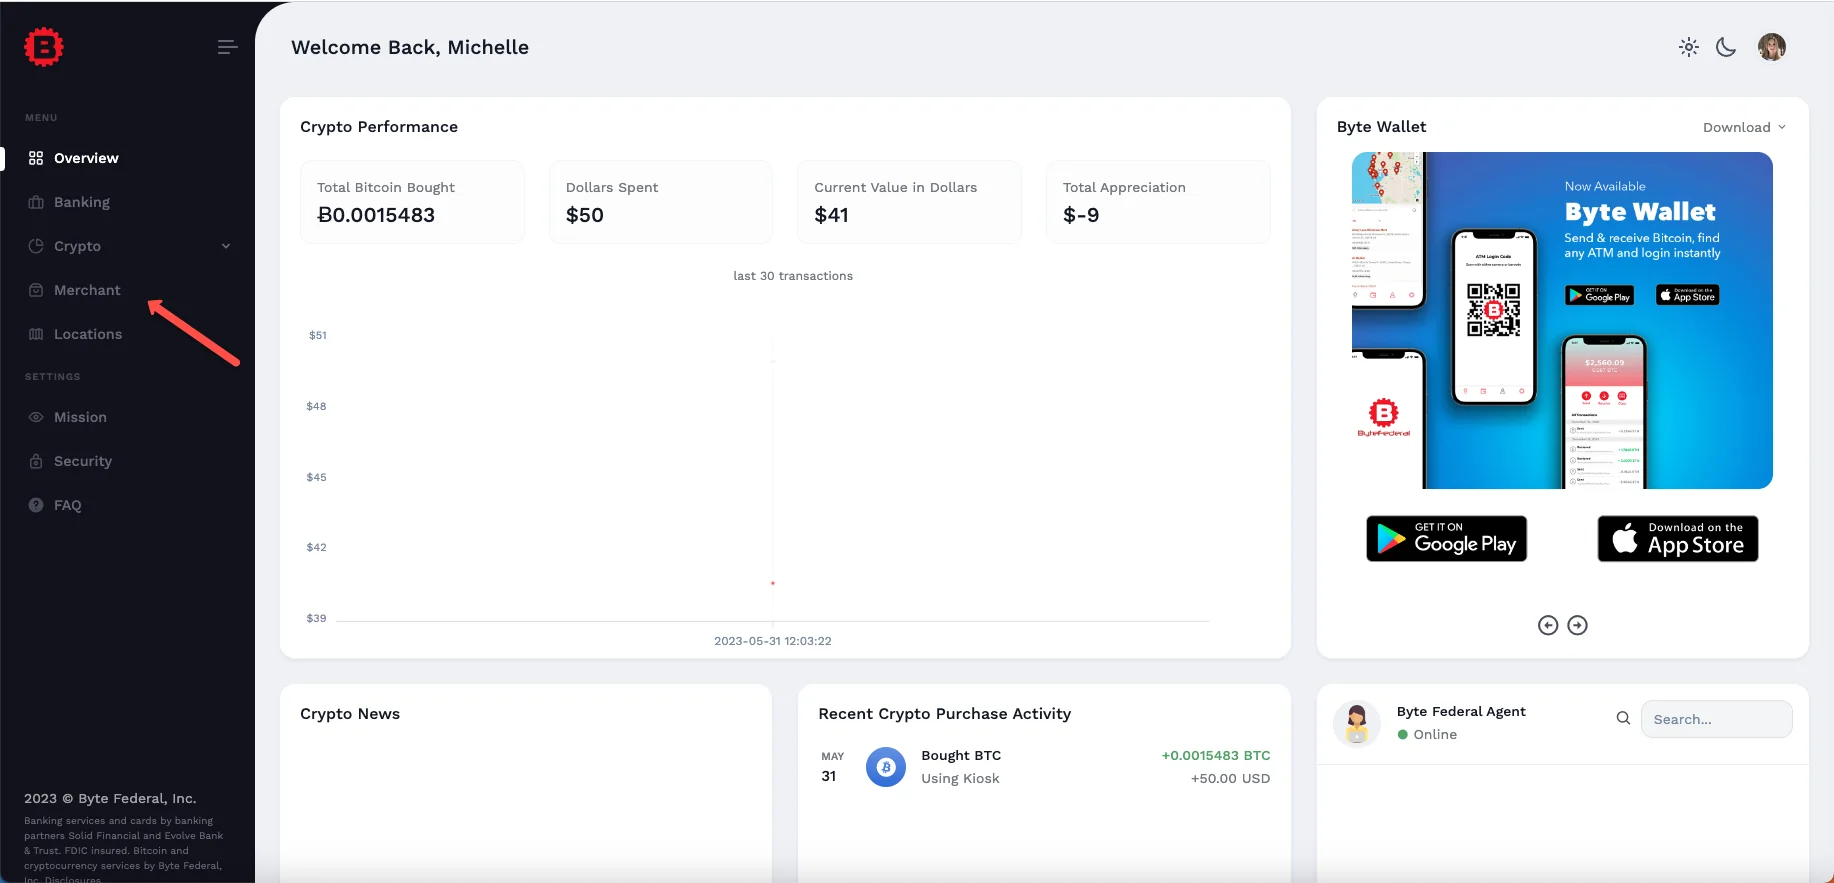
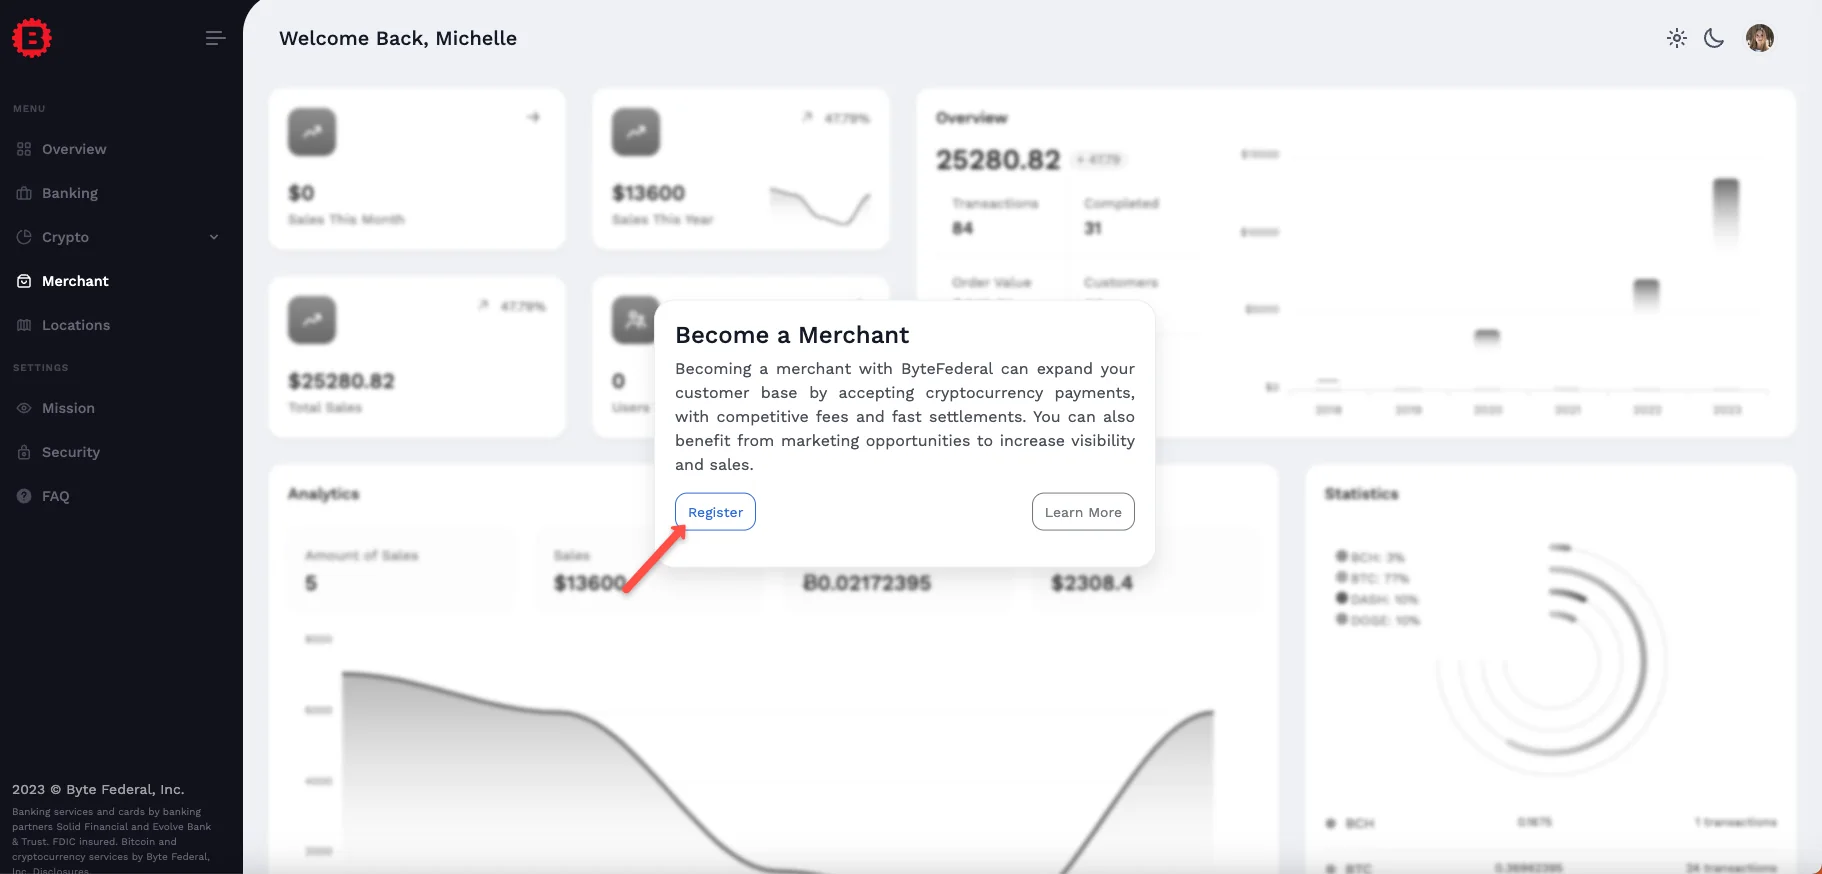
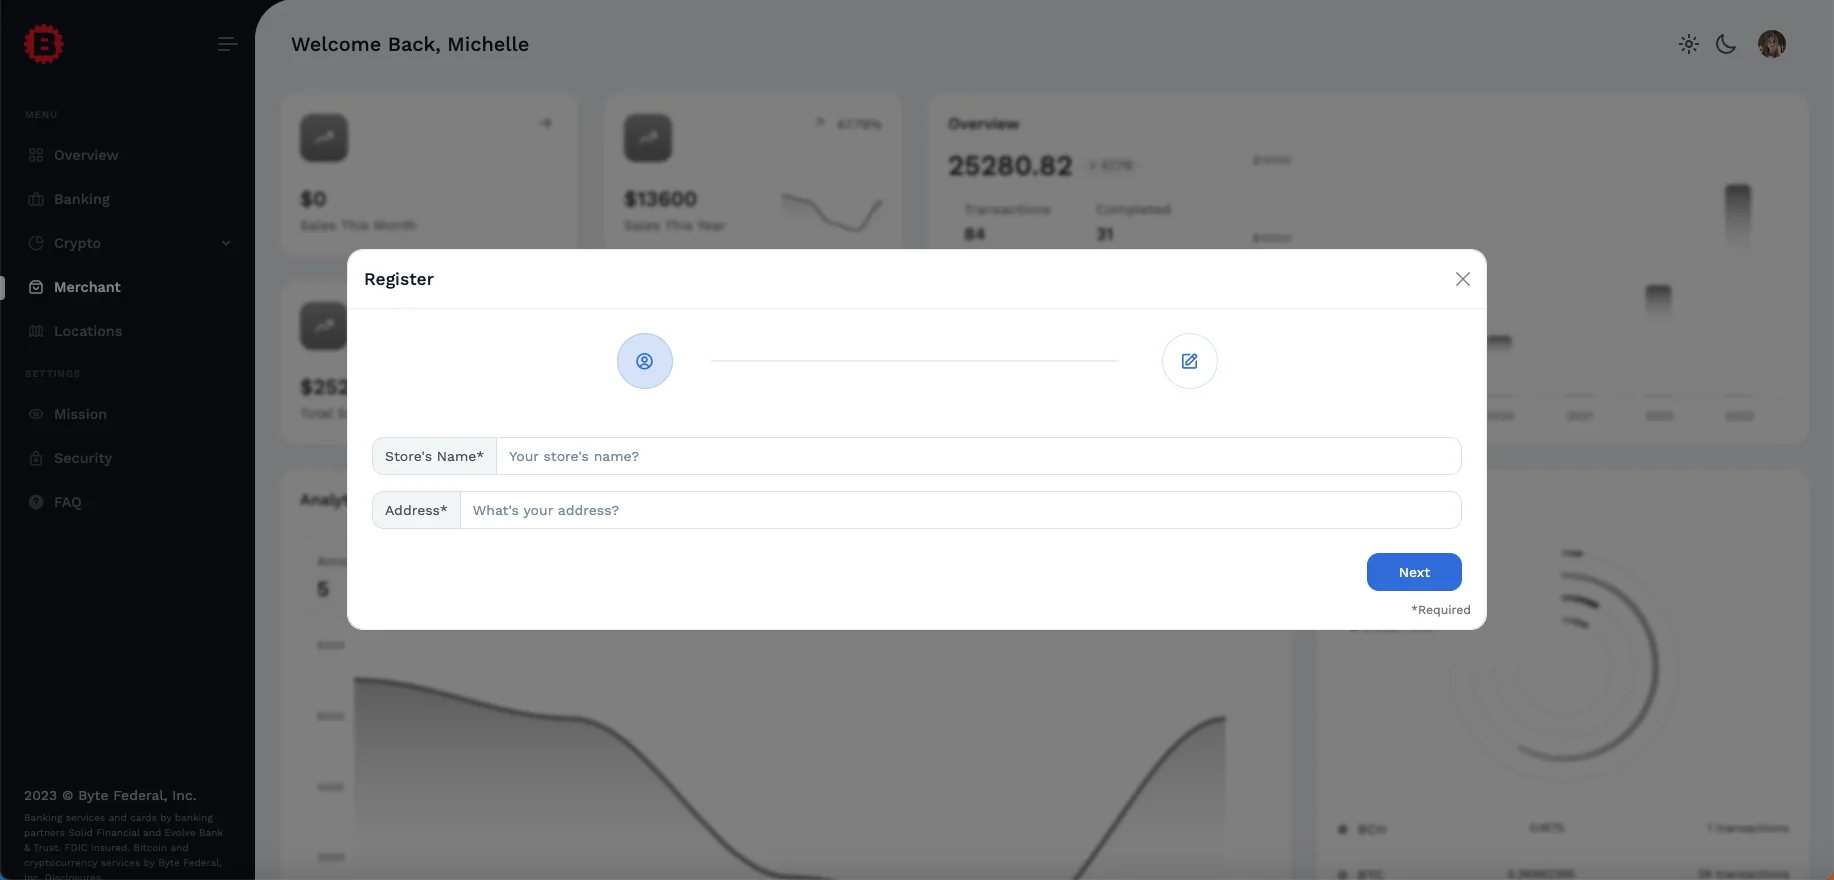
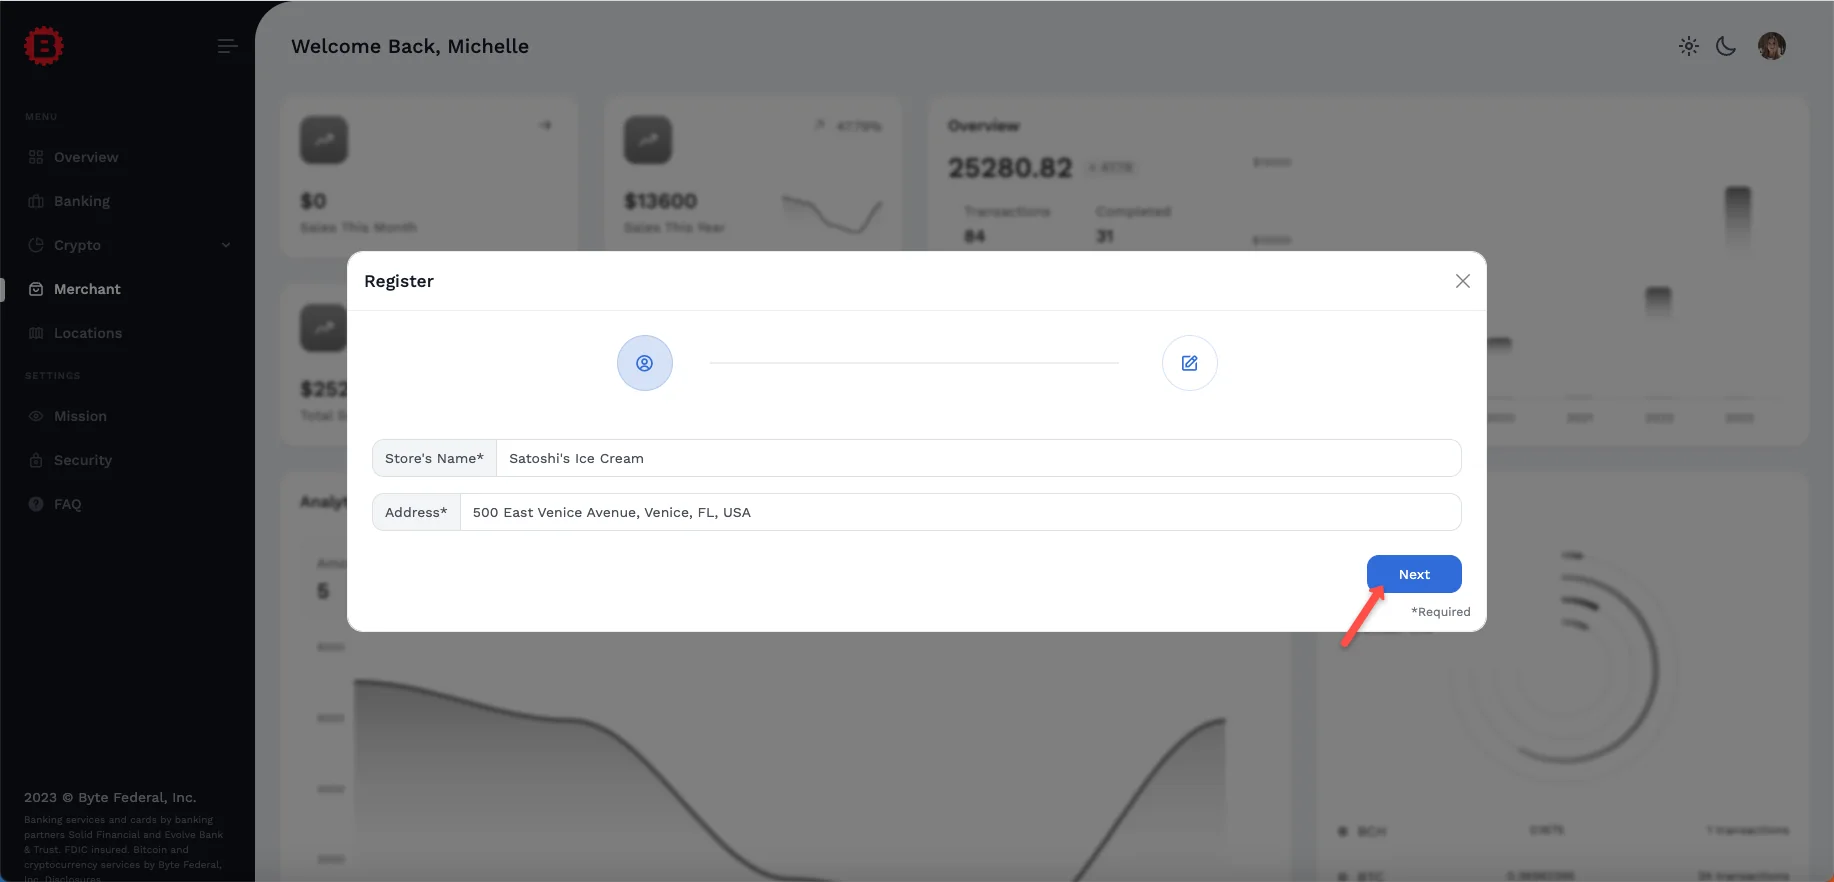
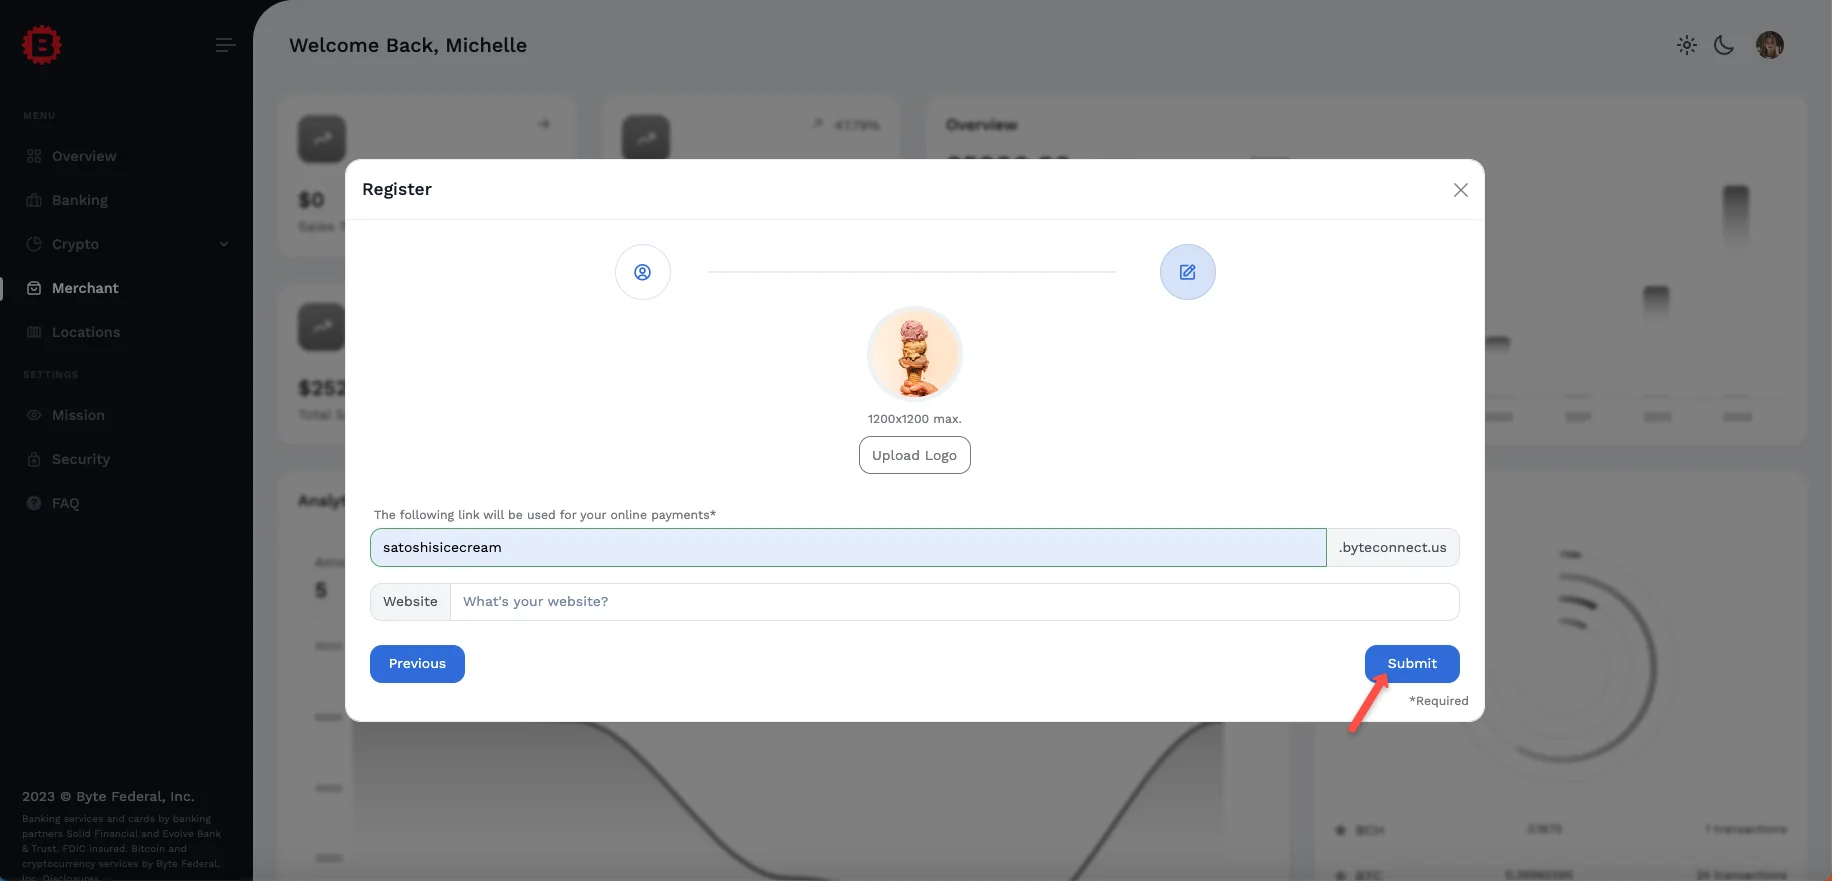
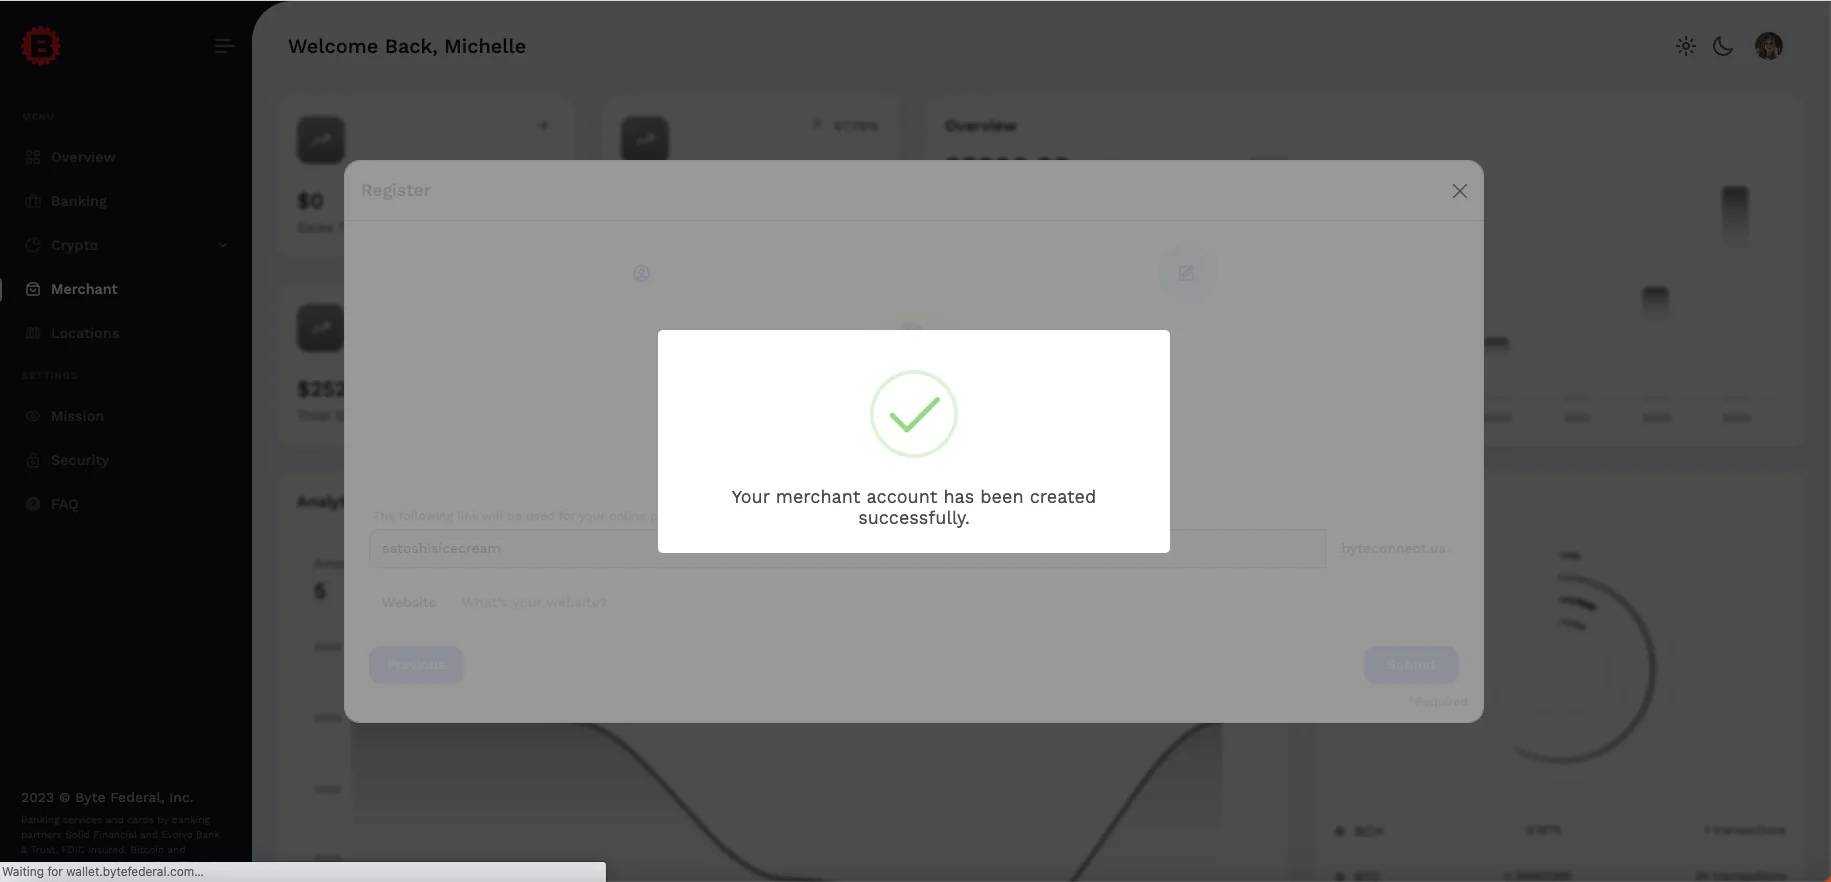
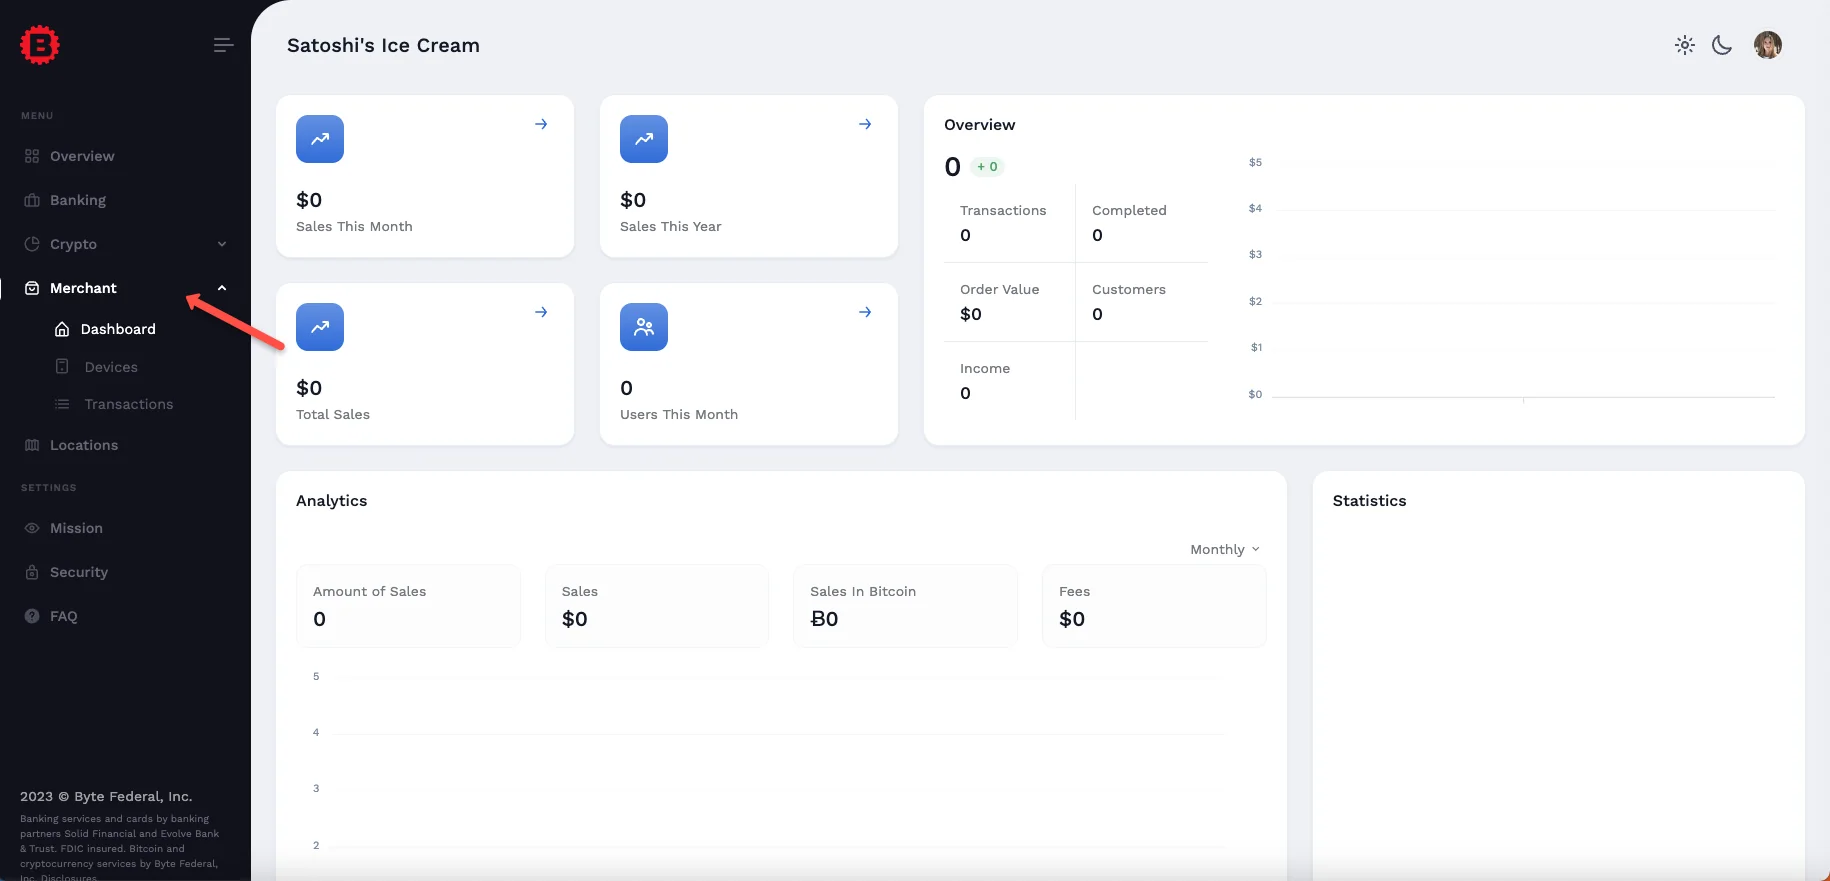
Once authenticated, use the Merchant section in WebWallet to complete business registration:
If you intend to use ByteConnect API integrations, open the API section and enable API access.
The generated username and password are used for token-based authentication.
Guided Walkthrough
Footnotes
- Banking availability is jurisdiction-dependent. Learn more at ByteVault.